
Key takeaways
- Fixing a leaking tap yourself can save you time and money.
- Common causes include worn washers, faulty O-rings, corroded valve seats, loose parts, and worn-out cartridges.
- If DIY fixes don’t work, it’s best to call a professional.
Have you ever heard the persistent drip, drop of water echoing in your sink, like a tiny drumbeat of doom?
You might find yourself wondering, “Why is my tap leaking?” as you notice stains creeping up your walls and a musty smell invading your home. Ignoring that little drip could lead to a cascade of issues, so it’s best to address it before it gets out of hand!
But before you panic and start searching for a plumber (though that’s the best thing to do in most cases), take a deep breath. This common household issue often has simple solutions that you can handle on your own.
This article shares the five most common culprits behind that pesky drip. We’ll also talk about the easy fixes you can do to tackle each one of them.
The usual suspects — 5 common causes of a leaking tap
Let’s get to the heart of the matter: why is your tap leaking? There are a handful of usual suspects behind that persistent drip.
Each of these issues can be a real pain, but the good news is that they’re often straightforward to fix. With a bit of know-how and some basic supplies, you can tackle these problems yourself.
Culprit #1 – worn-out washer
Washers create a seal that prevents water from escaping when the tap is turned off.
However, like all good things, washers can wear out over time. Constant friction against the valve seat takes its toll, leading to small gaps where water can sneak through—cue the annoying drip!
If you find yourself listening to that persistent drip, drip, drip, it’s a sure sign that your washer may be on its last legs.
You might also notice a steady trickle of water or feel a bit of stiffness when you turn the tap. Don’t let a worn-out washer rain on your parade—tackling this issue can restore peace and quiet to your sink!
Easy fix for a worn-out washer
Tools needed:
- Adjustable wrench
- Flat-head screwdriver
- Replacement washer
Steps to remove and replace the washer:
- Use the wrench to remove the tap handle.
- Unscrew the valve cover using the screwdriver.
- Locate the old washer at the base of the valve stem.
- Remove the old washer and replace it with a new one of the same size.
- Reassemble the tap by reversing the steps.
Culprit #2 – faulty o-ring
The O-ring is a small but important component of taps, often found in cartridge faucets. It sits around the valve stem, creating a seal to prevent water from leaking.
O-rings can degrade due to regular use, temperature changes, or even poor installation. When this happens, water can seep through, leading to those irritating drips.
A faulty O-ring typically causes leaks at the base of the tap handle. You might notice water pooling around the tap or a consistent drip when the tap is off.
Easy fix for a faulty o-ring
Tools needed:
- Adjustable wrench
- Flat-head screwdriver
- Replacement O-ring
- Plumber’s grease
Steps to remove and replace the o-ring:
- Use the wrench to remove the tap handle.
- Unscrew the valve cover using the screwdriver.
- Carefully remove the old O-ring from the valve stem.
- Apply a thin layer of plumber’s grease to the new O-ring.
- Place the new O-ring onto the valve stem, making sure it sits snugly.
- Reassemble the tap by reversing the steps.
Culprit #3 – corroded valve seat

The valve seat is a crucial component where the tap’s spout and faucet body connect, forming an essential seal that helps prevent leaks.
Over time, however, mineral deposits from hard water can accumulate on the valve seat, leading to corrosion.
This buildup can disrupt the integrity of the seal, causing water to escape and create leaks around the spout area.
If you find yourself noticing water pooling around the base of the spout or experiencing consistent drips even when the tap is turned off, it’s a strong indication that a corroded valve seat might be the culprit.
Addressing this issue promptly is important, as neglecting it can lead to more significant water damage and higher repair costs down the line.
By understanding the role of the valve seat and the impact of hard water on its condition, you can take proactive steps to maintain your tap and prevent frustrating leaks.
Easy fix for a corroded valve seat
Tools needed:
- Valve seat wrench or seat grinder
- White vinegar or a commercial descaling solution
- Replacement valve seat (if needed)
- Plumber’s grease
Safety precautions:
- Turn off the water supply to the tap.
- Open the tap to release any remaining water.
Detailed steps for cleaning or replacing:
- Remove the tap handle and valve stem using a wrench and screwdriver.
- Use a valve seat wrench to remove the corroded valve seat.
- Soak the valve seat in white vinegar or a descaling solution to remove mineral deposits. If it’s too corroded, replace it with a new one.
- Apply plumber’s grease to the cleaned or new valve seat before installing it.
- Reassemble the tap by reversing the steps.
Culprit #4 – loose parts
The components of your tap can become loose due to regular use. Every time you turn the tap on and off, the motion can gradually loosen screws, nuts, and other fittings.
This loosening can create gaps where water can leak out, leading to those annoying drips and puddles around your sink. Before you know it, those little gaps can turn into sneaky escape routes for water, resulting in those frustrating drips and puddles around your sink.
If your tap wobbles or you notice water leaking from the base or handle, it’s likely due to loose parts. You might also hear rattling sounds when you turn the tap on or off.
Easy fix to tighten loose parts
Tools needed:
- Adjustable wrench
- Screwdriver set
- Plumber’s tape
Detailed steps for checking and securing parts:
- Inspect the tap to identify loose parts. Common areas include the handle, spout, and base.
- Use the appropriate screwdriver or wrench to tighten any loose screws or nuts. Be careful not to overtighten, as this can strip the threads or damage the parts.
- If a part is damaged or cannot be tightened properly, replace it. Use plumber’s tape on threaded connections to ensure a snug fit and prevent leaks.
- Reassemble the tap and test for leaks.
Culprit #5 – worn-out cartridge
Cartridges are important components in many modern taps, especially single-handle faucets. They regulate the flow and temperature of the water.
They can wear out due to constant use, leading to leaks or difficulties in controlling the water temperature and flow.
If you notice water leaking from the spout, inconsistent water temperature, or difficulty turning the handle, a worn-out cartridge might be to blame.
Easy fix for worn-out cartridges
Tools Needed:
- Adjustable wrench
- Screwdriver set
- Replacement cartridge
- Plumber’s grease
Detailed Steps for Removal and Installation:
- Remove the tap handle using a screwdriver or wrench.
- Unscrew and remove the retaining nut to access the cartridge.
- Carefully pull out the old cartridge. Note its orientation for the replacement.
- Insert the new cartridge, ensuring it’s aligned correctly.
- Apply plumber’s grease to the cartridge to ensure smooth operation.
- Reassemble the tap by reversing the steps: replace the retaining nut, and reattach the handle.
- Turn on the water supply and test the tap for leaks.
When to call in the professionals
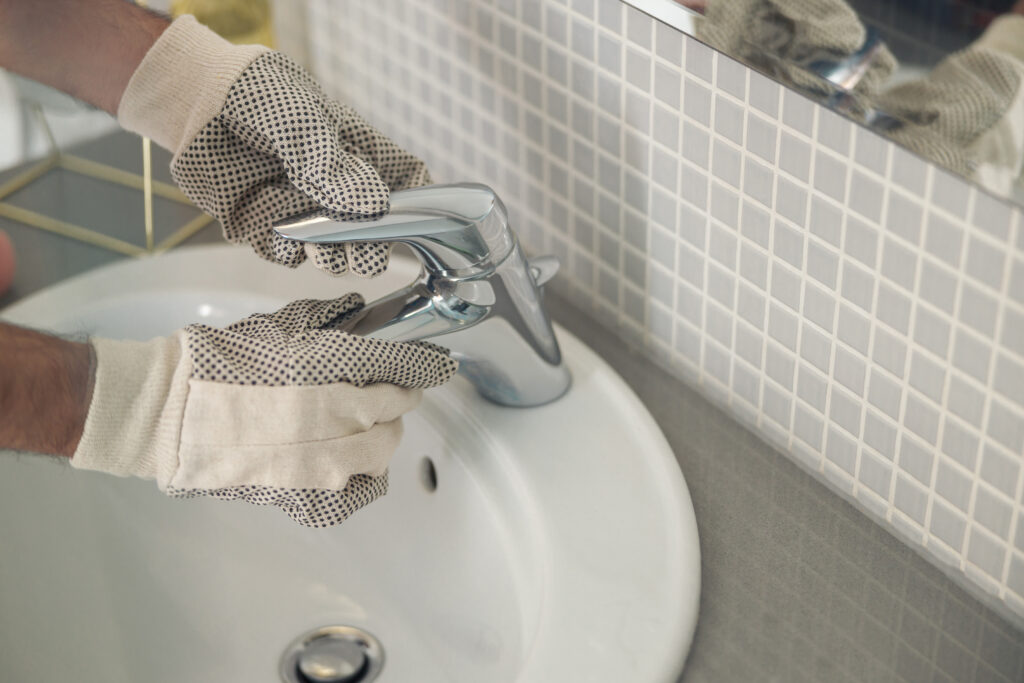
Sometimes, despite your best DIY efforts, the tap just keeps leaking.
Persistent leaks despite attempts to fix them can be a sign of deeper issues that require professional expertise. If you’ve tried all the common fixes and the drip persists, it’s likely that there’s a more complex problem at play.
If you encounter issues that seem beyond basic troubleshooting — such as unusual noises, inconsistent water pressure, or leaks from places you can’t easily access — it’s best to leave it to the professionals.
They have the tools and experience to diagnose and fix more complicated plumbing problems.
Keep Your Tap in Tip-Top Shape
Don’t let that persistent drip intimidate you.
With a bit of patience and the right tools, you can handle these repairs and save yourself the cost and hassle of calling a plumber.
Remember, even the best of us face household issues – the key is knowing how to address them effectively.
Think of each DIY fix as a small victory. Every time you replace a worn-out washer or tighten a loose part, you’re not just stopping a leak; you’re maintaining your home and learning valuable skills.
The satisfaction that comes from solving a problem on your own is immense. Plus, you’ll be able to impress your friends with your newfound plumbing prowess.
So go ahead, tackle those tap issues with confidence. Whether it’s a faulty O-ring, a corroded valve seat, or a worn-out cartridge, you’ve got the knowledge to fix it.
And if you ever feel out of your depth, remember that professional help is just a call away.