
Key Takeaways
1. Taps work by moving parts inside, like spindles, valves, or ceramic discs, that block or release pressurised water when you turn the handle.
2. Older taps use rubber washers to stop flow, while modern mixer taps use hard ceramic discs that last longer and feel smoother.
3. A dripping tap usually means a worn washer or clogged valve.Not always a big deal, and often something people can fix themselves.
Taps get used every day. Unfortunately, most people don’t think about how it works until something goes wrong.
A steady drip, a stiff handle, or a weak flow is usually the first sign something isn’t right.
Taps aren’t just hardware. Inside each one is a simple mechanism, but like anything mechanical, it wears down over time. Knowing how it works helps spot problems early.
This guide covers how taps work and what can go wrong when parts start to wear out. It also gives clear steps for keeping them in good shape, so small issues stay small.
How do taps work
Taps control the flow of water using pressure, valves, and internal seals. When the handle turns, it moves a part inside that opens or closes the water path.
Most homes have two water lines connected to taps: one for cold water and one for hot. These lines run under sinks, behind walls, and through floors. Pressure from the mains supply pushes water through the pipes and out the tap when opened.
There are different types of taps found in homes.
Older styles often use compression mechanisms. These have a washer that presses down on a valve seat to stop water flow.
Newer taps use cartridges, ceramic discs, or balls. Cartridge taps control water with a simple push or turn.
Ceramic disc taps use two discs that glide across each other to block or allow flow.
Ball taps have a rotating ball inside that adjusts both flow and temperature.
A typical tap contains a handle, spindle, washer, o-ring, and valve seat. The handle moves the spindle, which shifts or presses other parts to manage the flow. The washer forms a seal when closed. The o-ring helps stop leaks around the base.
Most taps also have an aerator at the spout. This mixes air with the water to reduce splashing and manage pressure.
Maintenance tips every homeowner should know
Taps don’t need much attention, but small habits can stop damage before it starts. Most issues come from wear, not accidents. Regular checks and light servicing help parts last longer and save money in the long run.
These steps focus on keeping things clean, catching faults early, and replacing what wears out:
1 – Keep it clean
Dirt, soap, toothpaste, and hard water stains build up faster than expected. Wipe down the tap body with a damp cloth every few days. A mild dish soap works well for general cleaning. Avoid harsh chemicals or scrub pads that scratch the surface.
Mineral deposits often collect around the base and spout. These can harden over time and block the flow.
White vinegar helps break this down. Soak a cloth in vinegar and wrap it around the affected area. Let it sit for 10 to 15 minutes, then scrub with a soft brush or cloth. This works especially well on the aerator. Remove it, soak it in vinegar, rinse, and screw it back in place.
Clean taps look better and work better. A blocked aerator or stiff handle is often the result of buildup that’s easy to avoid.
2 – Fix small leaks early
A leaking tap usually starts with a small drip. This doesn’t always mean something major is wrong.
Most of the time, it comes from a worn washer, cartridge, or o-ring. These parts control the seal and flow. When they wear out, water seeps through even when the tap is shut.
To replace a washer or cartridge, first turn off the main water supply. Then open the tap to drain any remaining water. Use a spanner to remove the tap head and reach the internal parts. Take the old piece to a hardware store to find a match. Replacing the exact part is important. Even a small size difference can cause the new one to fail.
Early leak detection and repairs stop the issue from getting worse. A steady drip also increases water bills and stains the sink over time. Sorting it quickly avoids both.
3 – Check for hidden wear
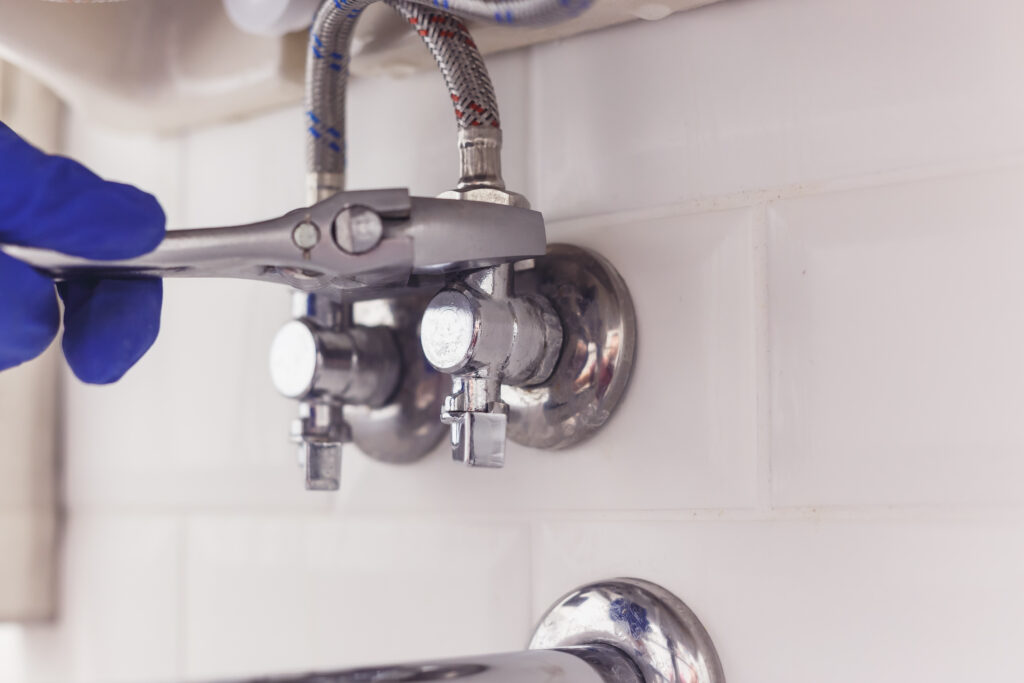
Not every problem shows up as a leak. Sometimes the damage starts under the sink or behind the fitting. Every few months, check the pipes and joints beneath each tap. Feel for dampness and look for signs of rust or green discolouration. These can point to slow leaks or loose fittings.
Also check around the tap base and behind the spout. Cracks, swelling, or unusual movement suggest that seals are starting to give way. If left alone, these can lead to water damage in walls or cabinets.
Spotting these signs early means a simpler fix. A worn seal is easier to replace than a damaged bench or mouldy wall lining.
4 – Avoid overtightening
A tap doesn’t need to be forced shut. Turning the handle too hard wears out the washer and spindle faster.
Over time, this makes the tap feel stiff or squeaky. It can also strip the internal thread and make the handle loose.
Get into the habit of turning the tap just until the water stops. If the handle keeps turning or doesn’t close properly, the washer or cartridge may need replacing.
Children often overtighten taps, especially older styles. Teach them to stop when the flow ends, not to crank it down. This small change keeps the mechanism in better shape for longer.
5 – Use silicone grease
When servicing a tap, a bit of silicone grease goes a long way.
Apply it to the spindle, washers, and o-rings before putting everything back together. It reduces friction and helps parts move smoothly. This is especially useful for ceramic disc taps, where a clean glide keeps the discs from chipping.
Silicone grease also helps form a tighter seal. This lowers the risk of leaks and slows down wear. Avoid using petroleum-based lubricants, as they can break down rubber components over time.
This simple step makes taps feel smoother and last longer between services.
6 – Replace worn parts with care
Replacing tap parts isn’t complicated, but it needs the right steps. Always shut off the mains water before taking anything apart. Even a small amount of pressure can make water spray out once the tap is open.
Keep track of the order in which parts come out. Take a photo if needed. This makes it easier to put everything back correctly. When buying replacements, bring the old part to the shop. A washer or cartridge may look standard but vary slightly in size or thread type.
Tighten fittings just enough to hold firm. Overtightening can crack plastic parts or strip the metal. Hand-tight followed by a light turn with a wrench is usually enough.
Done properly, part replacement can restore a tap’s function without needing a plumber.
7 – Do seasonal checks
Before winter, check all exposed taps and pipes for insulation. Cold weather can cause water to freeze inside the pipes, which may crack joints or split fittings. Foam pipe wrap or tap covers help prevent this.
After winter, test the taps for full pressure and check for drips. Freezing can damage parts even if the pipes didn’t burst. Look for slow flow, which may point to internal blockages or frozen residue.
In summer, taps get used more often. Outdoor taps in particular can wear faster due to heat and UV exposure. Check hoses and fittings regularly for cracks or swelling.
Seasonal checks take only a few minutes and stop weather from causing avoidable damage.
Small habits can save big repairs

Taps don’t fail all at once. Most problems start small and build up over time. Thankfully, regular checks, light cleaning, and timely repairs can keep taps working for years.
No special tools are needed. Just pay attention to how each tap feels, sounds, and flows. Replace parts when something seems off. Keep fittings clean and don’t force the handle shut. These habits take little time and cost less than calling in a plumber later.
Taps are simple, but they deserve care. Looking after them protects more than just the plumbing. It keeps the whole space running smoothly.