
Key takeaways
- For an overflowing toilet, turn off the water supply and use a plunger or auger to clear the clog. If the problem persists, consider a plumber.
- Clogged sinks and tubs can often be fixed with a plunger, baking soda and vinegar, or a drain snake. However, persistent clogs might need professional help.
- If your water heater stops working or a pipe starts leaking, check simple fixes first, like relighting the pilot or turning off the water. Don’t hesitate to call a plumber for more serious issues.
We’ve all been there. That sudden rush of panic when water starts leaking, gushing, or refusing to go down the drain.
Plumbing emergencies can strike at the worst times, often leaving us feeling helpless.
But with a bit of knowledge and a few handy tools, you can tackle many of these emergencies on your own.
So, whether you’re dealing with a burst pipe or a clogged toilet, this guide is here to help you face the basic problems.
Here are the six most common plumbing emergencies and how you can fix them yourself without breaking a sweat.
Common plumbing emergency #1 — Your toilet is overflowing
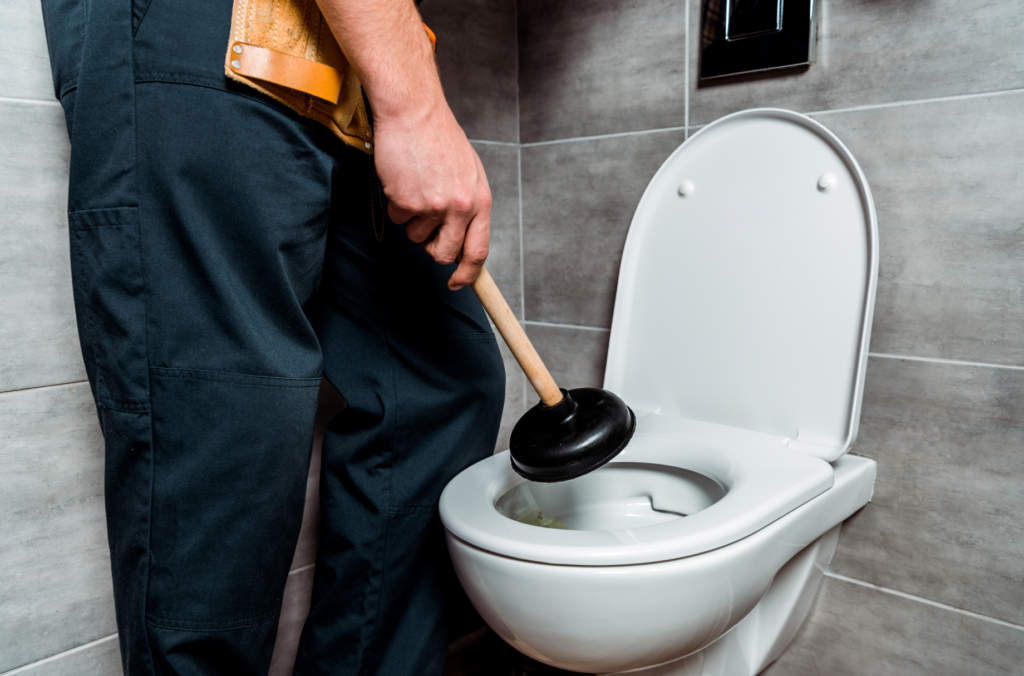
A toilet overflowing can quickly turn a bathroom into a disaster zone.
It’s not just a mess. The potential for water damage to floors and ceilings is real and immediate.
What’s going on here?
An overflowing toilet is often the most dreaded plumbing emergency. It usually signals one of a few problems.
The most common culprit is a clog in the toilet drain or the trap that prevents waste from moving through the plumbing system.
Sometimes, the issue is with the toilet’s internal components, like a malfunctioning float mechanism that fails to stop the flow of water into the bowl.
Occasionally, a blocked vent pipe can be the cause, as it disrupts the normal flow of air and water within the plumbing system.
Stay calm and grab the plunger
- Turn off the water supply. The first step is to stop the water from flowing. Find the shut-off valve behind the toilet near the floor and turn it clockwise to cut off the water supply. This prevents more water from entering the toilet bowl and overflowing onto the floor.
- Use a plunger. Make sure you have a good seal over the toilet drain and push and pull with steady, even pressure. This creates suction that can dislodge the clog. Keep going until you see the water level start to drop.
- Try a toilet auger. If the plunger doesn’t do the trick, a toilet auger (also known as a closet auger) can help reach deeper clogs. Insert the auger into the toilet bowl and turn the handle clockwise to break up or retrieve the clog.
- Turn the water back on. Once the clog is cleared, slowly turn the water back on and test the flush. If the water goes down smoothly, you’re back in business.
Sometimes, these steps may not solve the problem, and it becomes a true plumbing emergency. In such cases, it’s wise to call a local emergency plumber who can address the issue more thoroughly.
Common plumbing emergency #2 — The kitchen sink is clogged
A clogged kitchen sink can bring cooking, cleaning, and everyday life to a standstill.
It’s a frustrating problem, but it’s usually straightforward to fix.
What’s going on here?
Kitchen sink clogs often occur due to a buildup of food scraps, grease, soap residue, and other debris that gets washed down the drain.
Over time, these materials can form a solid blockage that prevents water from flowing freely.
Ignoring a clog can lead to bigger plumbing issues, so it’s best to tackle it immediately.
Get your sink draining again with these steps
- Remove visible debris. Start by clearing any food or debris from the sink and drain area. Sometimes, the blockage is right at the surface and can be easily removed by hand.
- Use a plunger. For sink clogs, use a plunger with a smaller cup size than the one used for toilets. Fill the sink with enough water to cover the plunger cup, then create a seal over the drain. Plunge up and down vigorously several times. If the water starts to drain, you’ve likely cleared the clog.
- Try baking soda and vinegar. If plunging doesn’t work, pour a cup of baking soda down the drain, followed by a cup of vinegar. The chemical reaction helps to break down the clog. Let it sit for about 15 minutes, then flush the drain with boiling water.
- Use a plumber’s snake. For tougher clogs, a plumber’s snake or drain auger can be inserted into the drain to break up or remove the blockage. Gently push the snake down the drain, turning the handle clockwise until you encounter resistance. Then, turn counterclockwise to pull the snake back up, hopefully bringing the clog with it.
- Check the trap. If the sink still won’t drain, the clog might be in the trap – the curved pipe beneath the sink. Place a bucket under the trap to catch any water, then unscrew the trap and remove any debris inside. Reattach the trap and test the sink.
Sometimes, a clogged kitchen sink can turn into a serious plumbing emergency if left unchecked.
If you’ve tried these steps and still can’t get the sink to drain, it’s time to call a drain cleaning service to prevent more significant issues.
Common plumbing emergency #3 — Your water heater isn’t working
Cold showers are an unpleasant surprise, especially when the water heater decides to take a break.
Thankfully, there are several steps you can take to diagnose and fix the problem.
What’s going on here?
Water heaters can stop working for several reasons.
The most common issues include a blown-out pilot light in gas heaters, a tripped circuit breaker in electric heaters, or sediment buildup in the tank that affects heating efficiency.
Sometimes, the thermostat or heating element may malfunction, causing inconsistent water temperatures.
When this happens, it’s a clear plumbing emergency for most households.
Let’s get that water heater back in action
- Check the pilot light. For gas water heaters, start by checking if the pilot light is lit. If it’s out, follow the manufacturer’s instructions to safely relight it. If it won’t stay lit, the problem could be with the thermocouple or gas valve.
- Check the circuit breaker. For electric water heaters, check the circuit breaker to ensure it hasn’t tripped. If it has, reset the breaker and see if the water heater starts working again. A tripped breaker could indicate an electrical issue with the heater that may require further inspection.
- Flush the tank. Sediment buildup can reduce a water heater’s efficiency and lifespan. Flushing the tank can remove this buildup. Turn off the power or gas to the heater, attach a garden hose to the drain valve, and let the water run out until it’s clear. Then, refill the tank and restore power.
- Adjust the thermostat. If the water temperature is inconsistent, the thermostat settings might need adjusting. Check the user manual for the correct procedure and make sure the thermostat is set to the desired temperature.
- Inspect the heating element. If the water heater still isn’t working, the heating element or thermostat may need replacing. This task may be a bit more complex and might require professional assistance if you’re not comfortable doing it yourself.
If these steps don’t restore hot water, it might be time to call an emergency plumber in Brisbane.
A faulty water heater is a common plumbing emergency that requires quick attention to avoid further issues.
Common plumbing emergency #4 — You’ve got a leaking pipe
A leaking pipe can quickly lead to water damage, mould growth, and a host of other issues if not dealt with promptly.
What’s going on here?
Leaks in pipes can occur for various reasons, such as corrosion, high water pressure, or damaged seals.
A small drip might not seem like a big deal. But over time, even minor leaks can cause significant damage and waste a lot of water.
It’s one of those plumbing emergencies that can escalate quickly if not addressed immediately.
Stop that leak before it gets worse
- Turn off the water supply. The first step in dealing with a leak is to stop the flow of water. Turn off the main water supply to the house. This will prevent further water damage while you work on fixing the leak.
- Find the leak. Once the water is off, find the source of the leak. Wipe the area dry so you can see exactly where the water is coming from.
- Use pipe repair tape or a rubber patch. For a temporary fix, wrap pipe repair tape around the leak or apply a rubber patch and secure it with a pipe clamp. This can hold until a more permanent solution is put in place.
- Apply plumber’s epoxy. For a more durable temporary repair, apply plumber’s epoxy to the leaking area. Make sure the pipe is dry and clean before applying the epoxy, and allow it to cure as directed by the manufacturer.
- Replace the section of pipe. If the leak persists or the pipe is severely damaged, replacing the section of pipe may be necessary. Use appropriate tools to cut out the damaged section and replace it with a new one using proper fittings and pipe cement.
- Turn the water back on. Once the repair is complete, turn the water back on slowly and check the area for any leaks.
A leaking pipe is considered a plumbing emergency because it can lead to extensive damage if not handled quickly.
If the leak is significant or beyond a DIY repair, calling a local plumber is the best course of action.
Common plumbing emergency #5 — The bathtub won’t drain
A slow-draining or clogged bathtub is more than just an inconvenience. It can lead to standing water and, eventually, a complete blockage.
What’s going on here?
Bathtub drains often get clogged due to a buildup of hair, soap scum, and bath product residues.
Over time, these materials can combine to form a solid blockage that prevents water from draining properly.
When the water starts pooling in the tub, it’s a plumbing emergency that needs immediate attention.
Get your tub draining smoothly again
- Remove the drain stopper. Start by removing the drain stopper and cleaning it thoroughly. Often, hair and debris get caught around the stopper, causing the clog.
- Use a drain snake. If cleaning the stopper doesn’t solve the problem, use a drain snake or a wire hanger to reach deeper into the drain. Insert the snake into the drain and twist it to grab or break up the clog.
- Try baking soda and vinegar. Pour a cup of baking soda down the drain, followed by a cup of vinegar. Let the mixture sit for about 15 minutes to break down the clog, then flush the drain with hot water.
- Use a commercial drain cleaner. If the clog is still stubborn, use a commercial drain cleaner, but follow the instructions carefully to avoid damaging your pipes.
- Reassemble the drain stopper. After clearing the clog, put the drain stopper back in place and test the tub to ensure the water drains smoothly.
If these steps don’t work and the bathtub remains clogged, it might be time to contact a professional drain inspection service.
A bathtub that won’t drain is more than just an annoyance. It’s a plumbing emergency that could indicate a bigger issue in your plumbing system.
Common plumbing emergency #6 —Your faucet won’t stop dripping
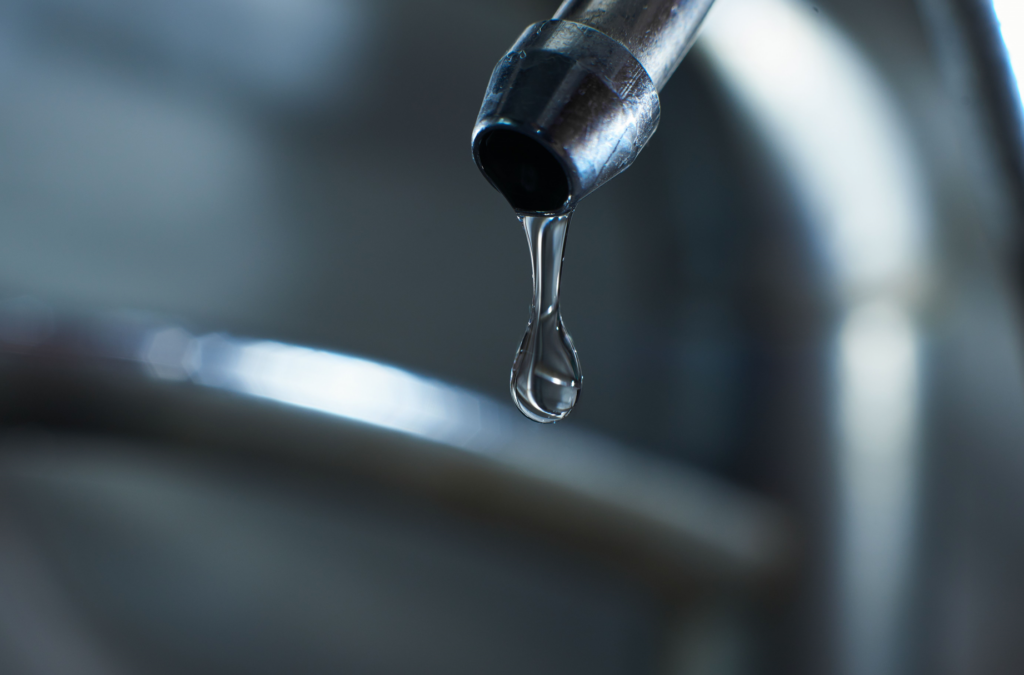
A dripping faucet can lead you to waste water — an issue that can add up over time.
What’s going on here?
Faucets can start dripping due to worn-out washers, O-rings, or other loose parts.
Sometimes, mineral deposits can build up inside the faucet, causing parts to wear down faster.
While a dripping faucet might seem minor, it’s a common plumbing emergency. It can lead to bigger issues like rust, mould, and increased water bills if ignored.
Silence that drip for good
- Turn off the water supply. Before you start working on the faucet, make sure to turn off the water supply to avoid a bigger mess. You can usually find the shut-off valves under the sink.
- Disassemble the faucet handle. Remove the faucet handle to access the internal components. This usually involves removing a screw and lifting the handle off.
- Inspect for worn-out parts. Look for worn-out washers, O-rings, or other damaged components. These small parts are often the cause of a dripping faucet and can be easily replaced.
- Clean out mineral deposits. If you see any mineral buildup, soak the parts in vinegar or a descaling solution to remove it. This will help ensure a tighter seal when you reassemble the faucet.
- Reassemble the faucet. Once you’ve replaced any damaged parts and cleaned the components, put the faucet back together and turn the water supply back on. Test the faucet to make sure the dripping has stopped.
If the faucet continues to drip after these repairs, it may indicate a more serious plumbing emergency that requires professional help.
Don’t hesitate to call a local plumber to fix your leaking tap.
If all else fails, call a real professional
Armed with these tips, you’re now better prepared to handle those unexpected plumbing mishaps.
However, it’s important to know what is considered a plumbing emergency — and when to call an emergency local plumber.
Remember, a little knowledge goes a long way, but there are issues that you won’t be able to handle yourself.
So next time something goes awry, take a deep breath, roll up your sleeves, and show that plumbing problem who’s boss.
And if you find that the problem is bigger than you can handle, your trusted emergency plumber is just a call away.